Creating and Installing a Certificate for Call Telemetry Appliance
You can update the Appliance SSL certificate used for administration and user portals.
Choose your path
- Production CA certificate via UI/CSR — generate a CSR in the UI, get it signed by your CA, then upload the cert and key.
- Replace with PEM files — upload existing certificate and key (PEM) from the SSL Certificates page, or place them under
/home/calltelemetry/certs/via SSH. - Regenerate default self-signed (reset) — wipe the current appliance certs and create a fresh self-signed pair. See Reset self-signed certificates.
Prerequisites
You can upload certificates straight from the web page. You can generate a new private key, or generate a CSR.
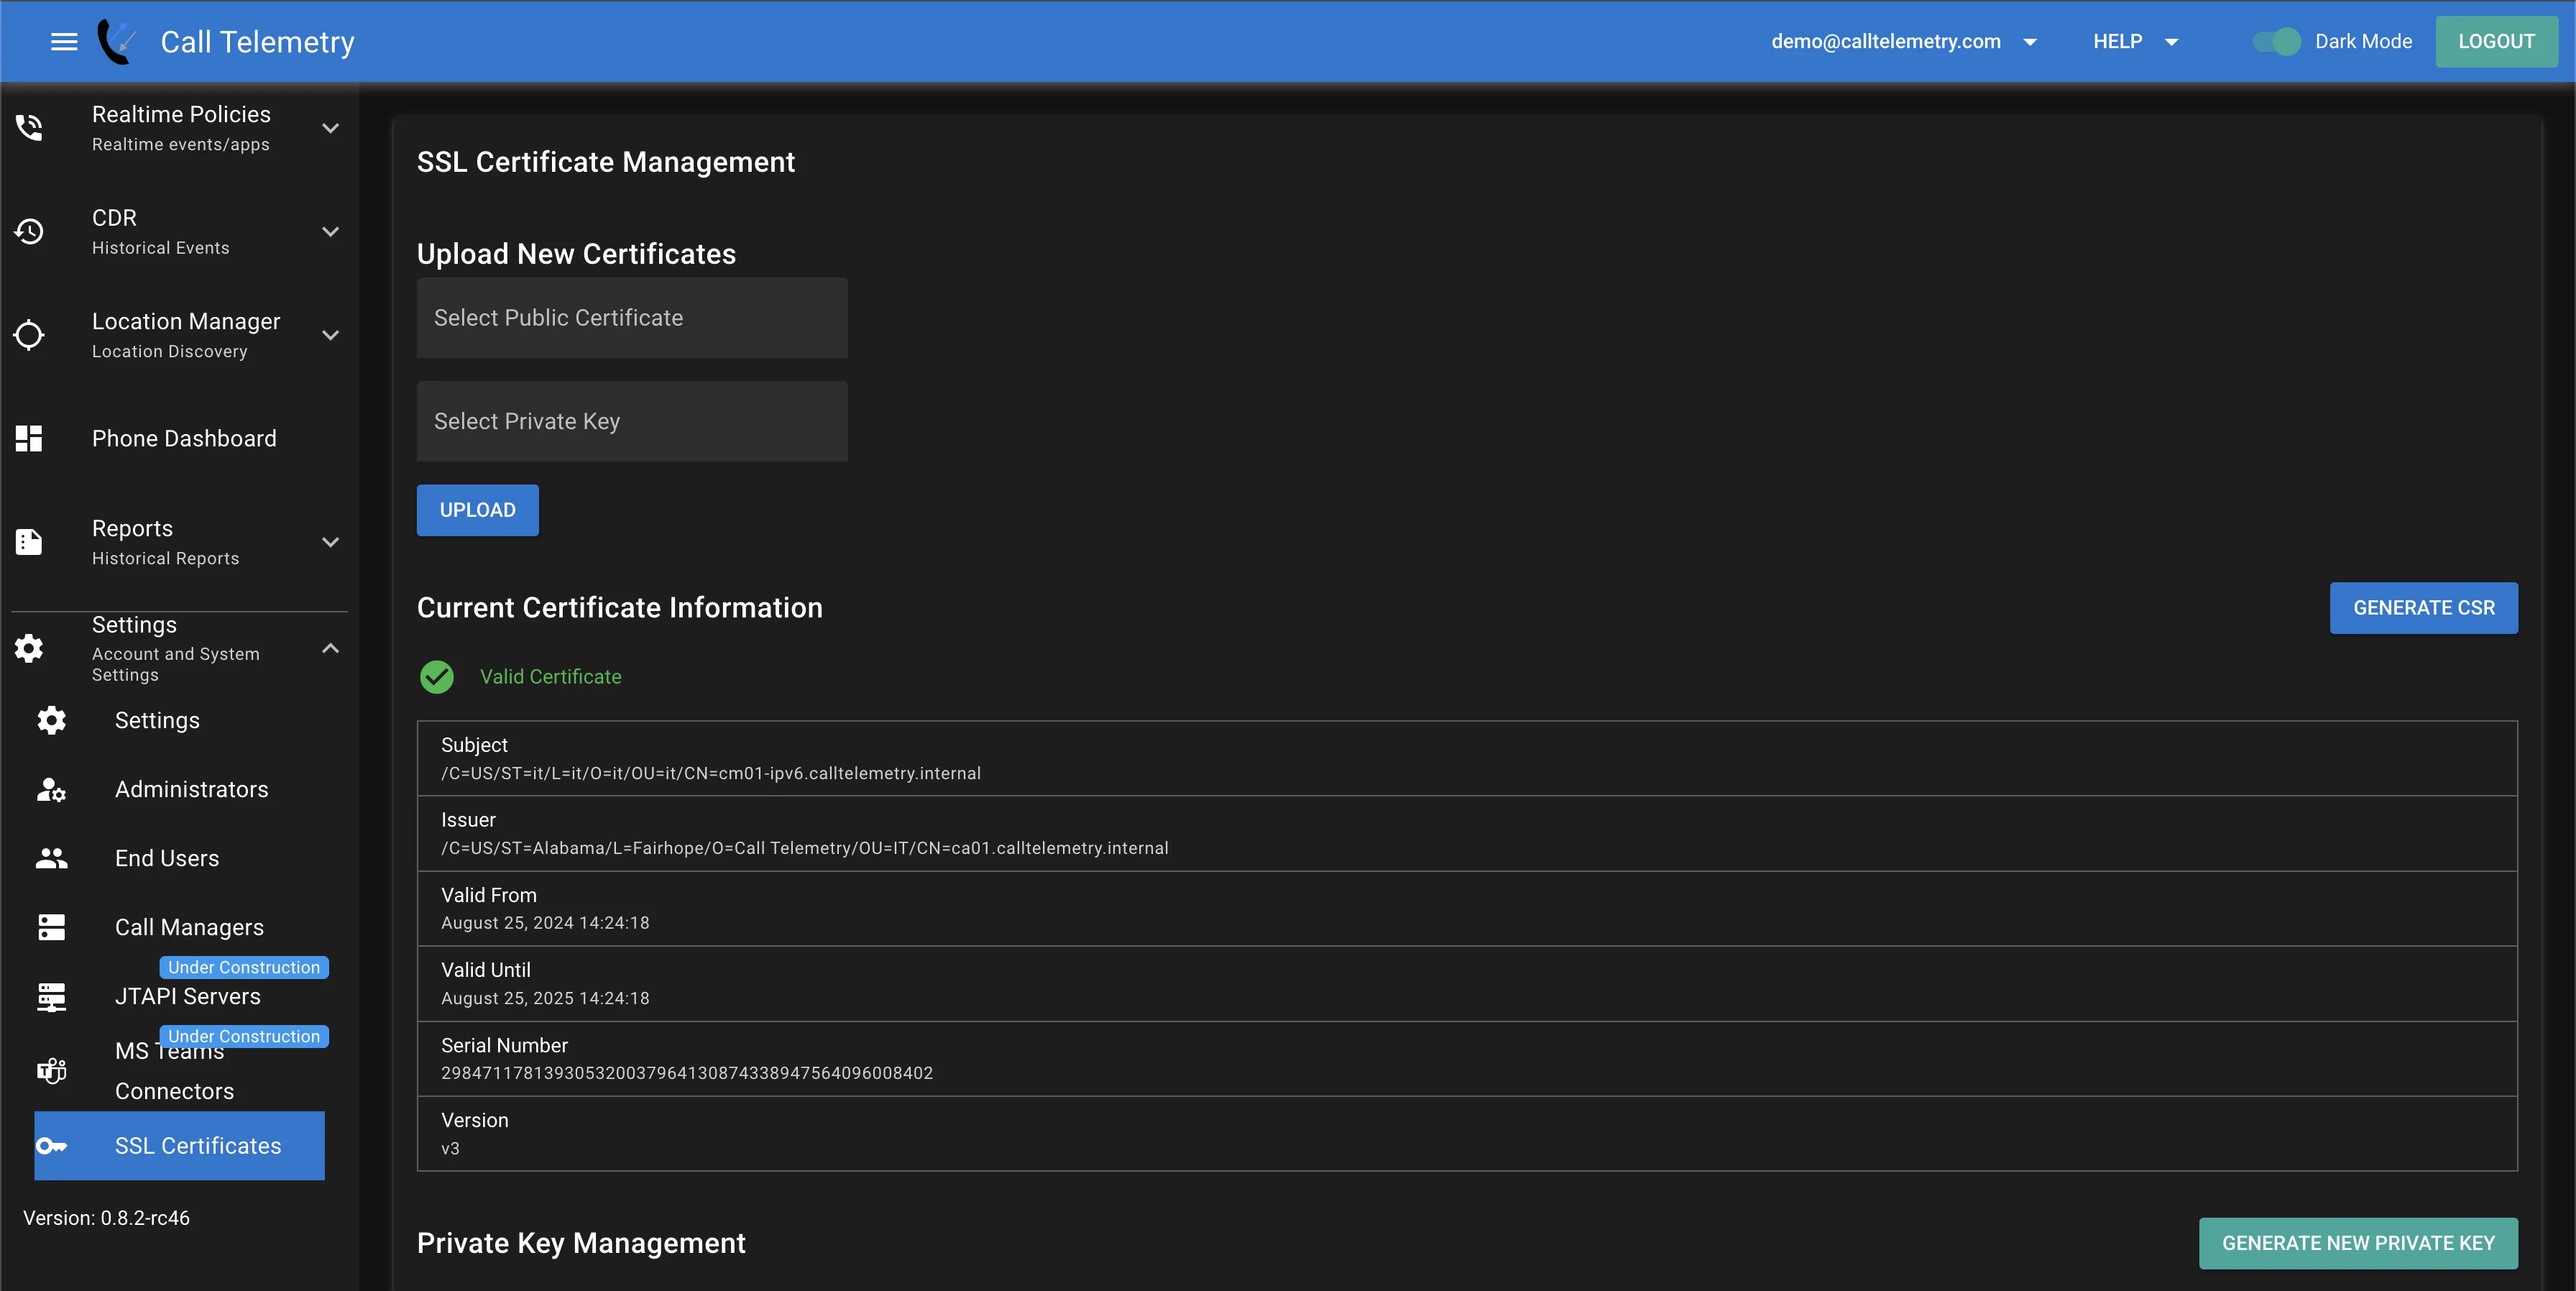
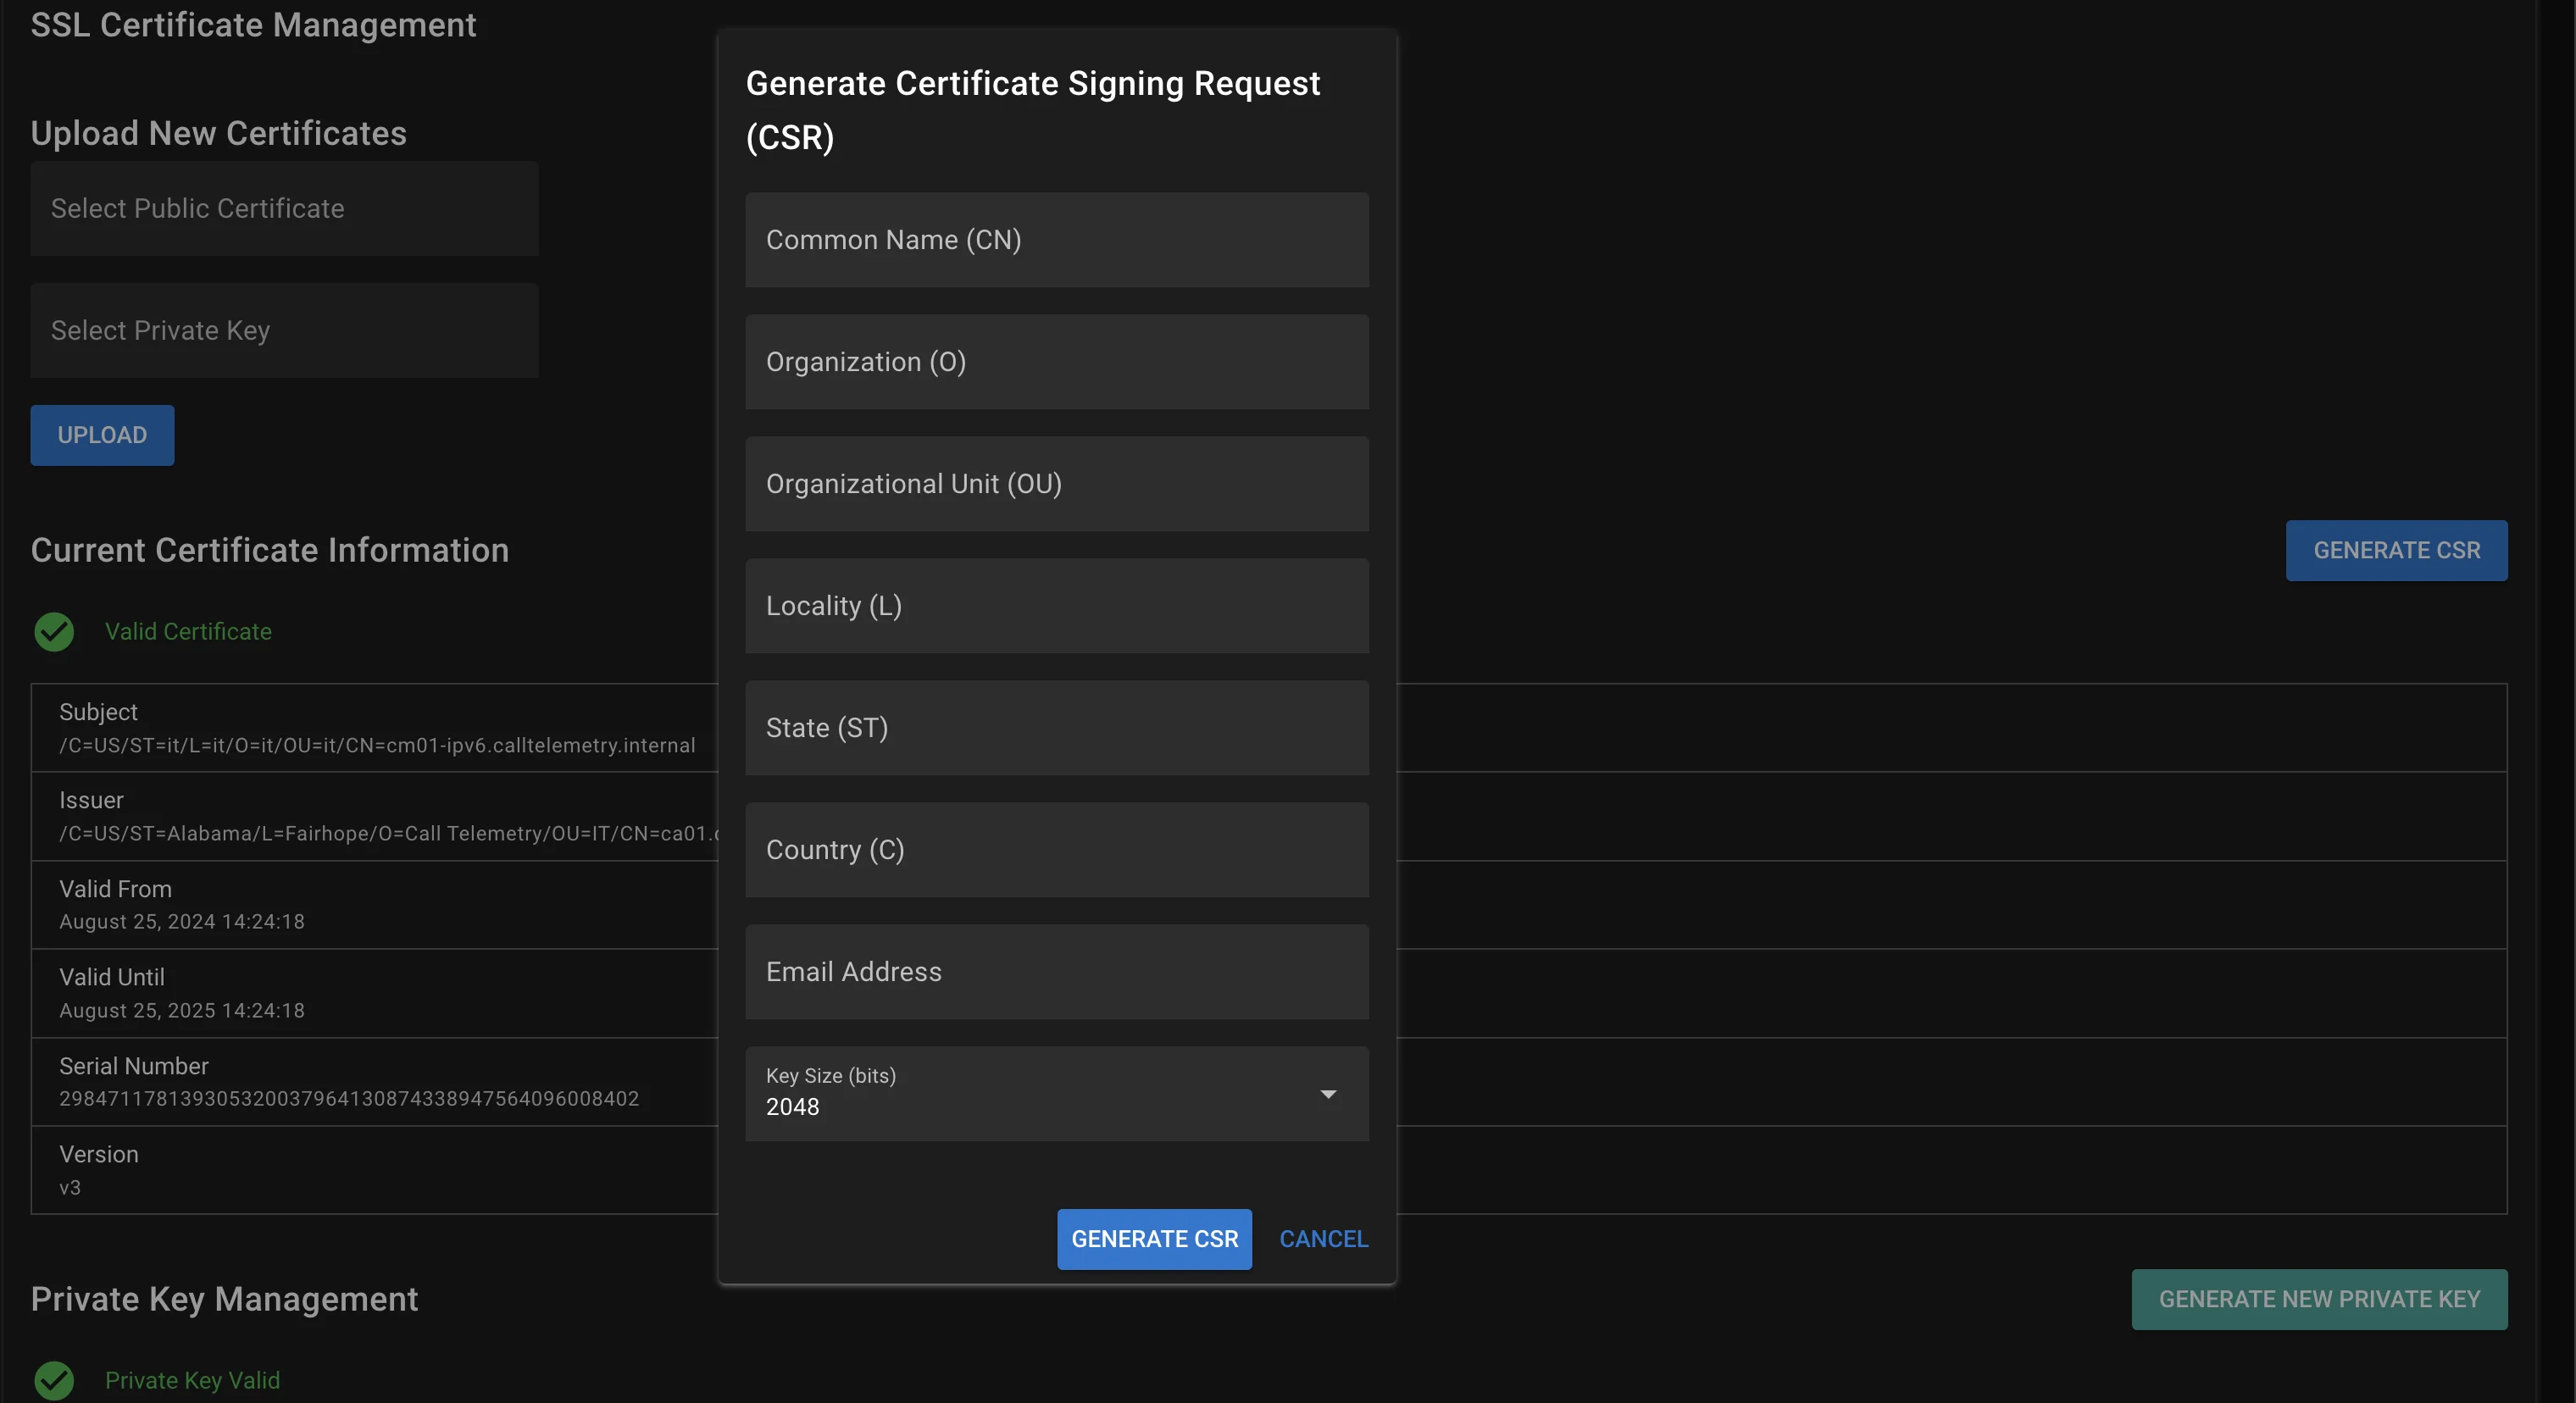
Generate a Certificate Signing Request (CSR)
You can also generate a CSR from the appliance. This is useful if you want to use a certificate from a trusted Certificate Authority (CA).
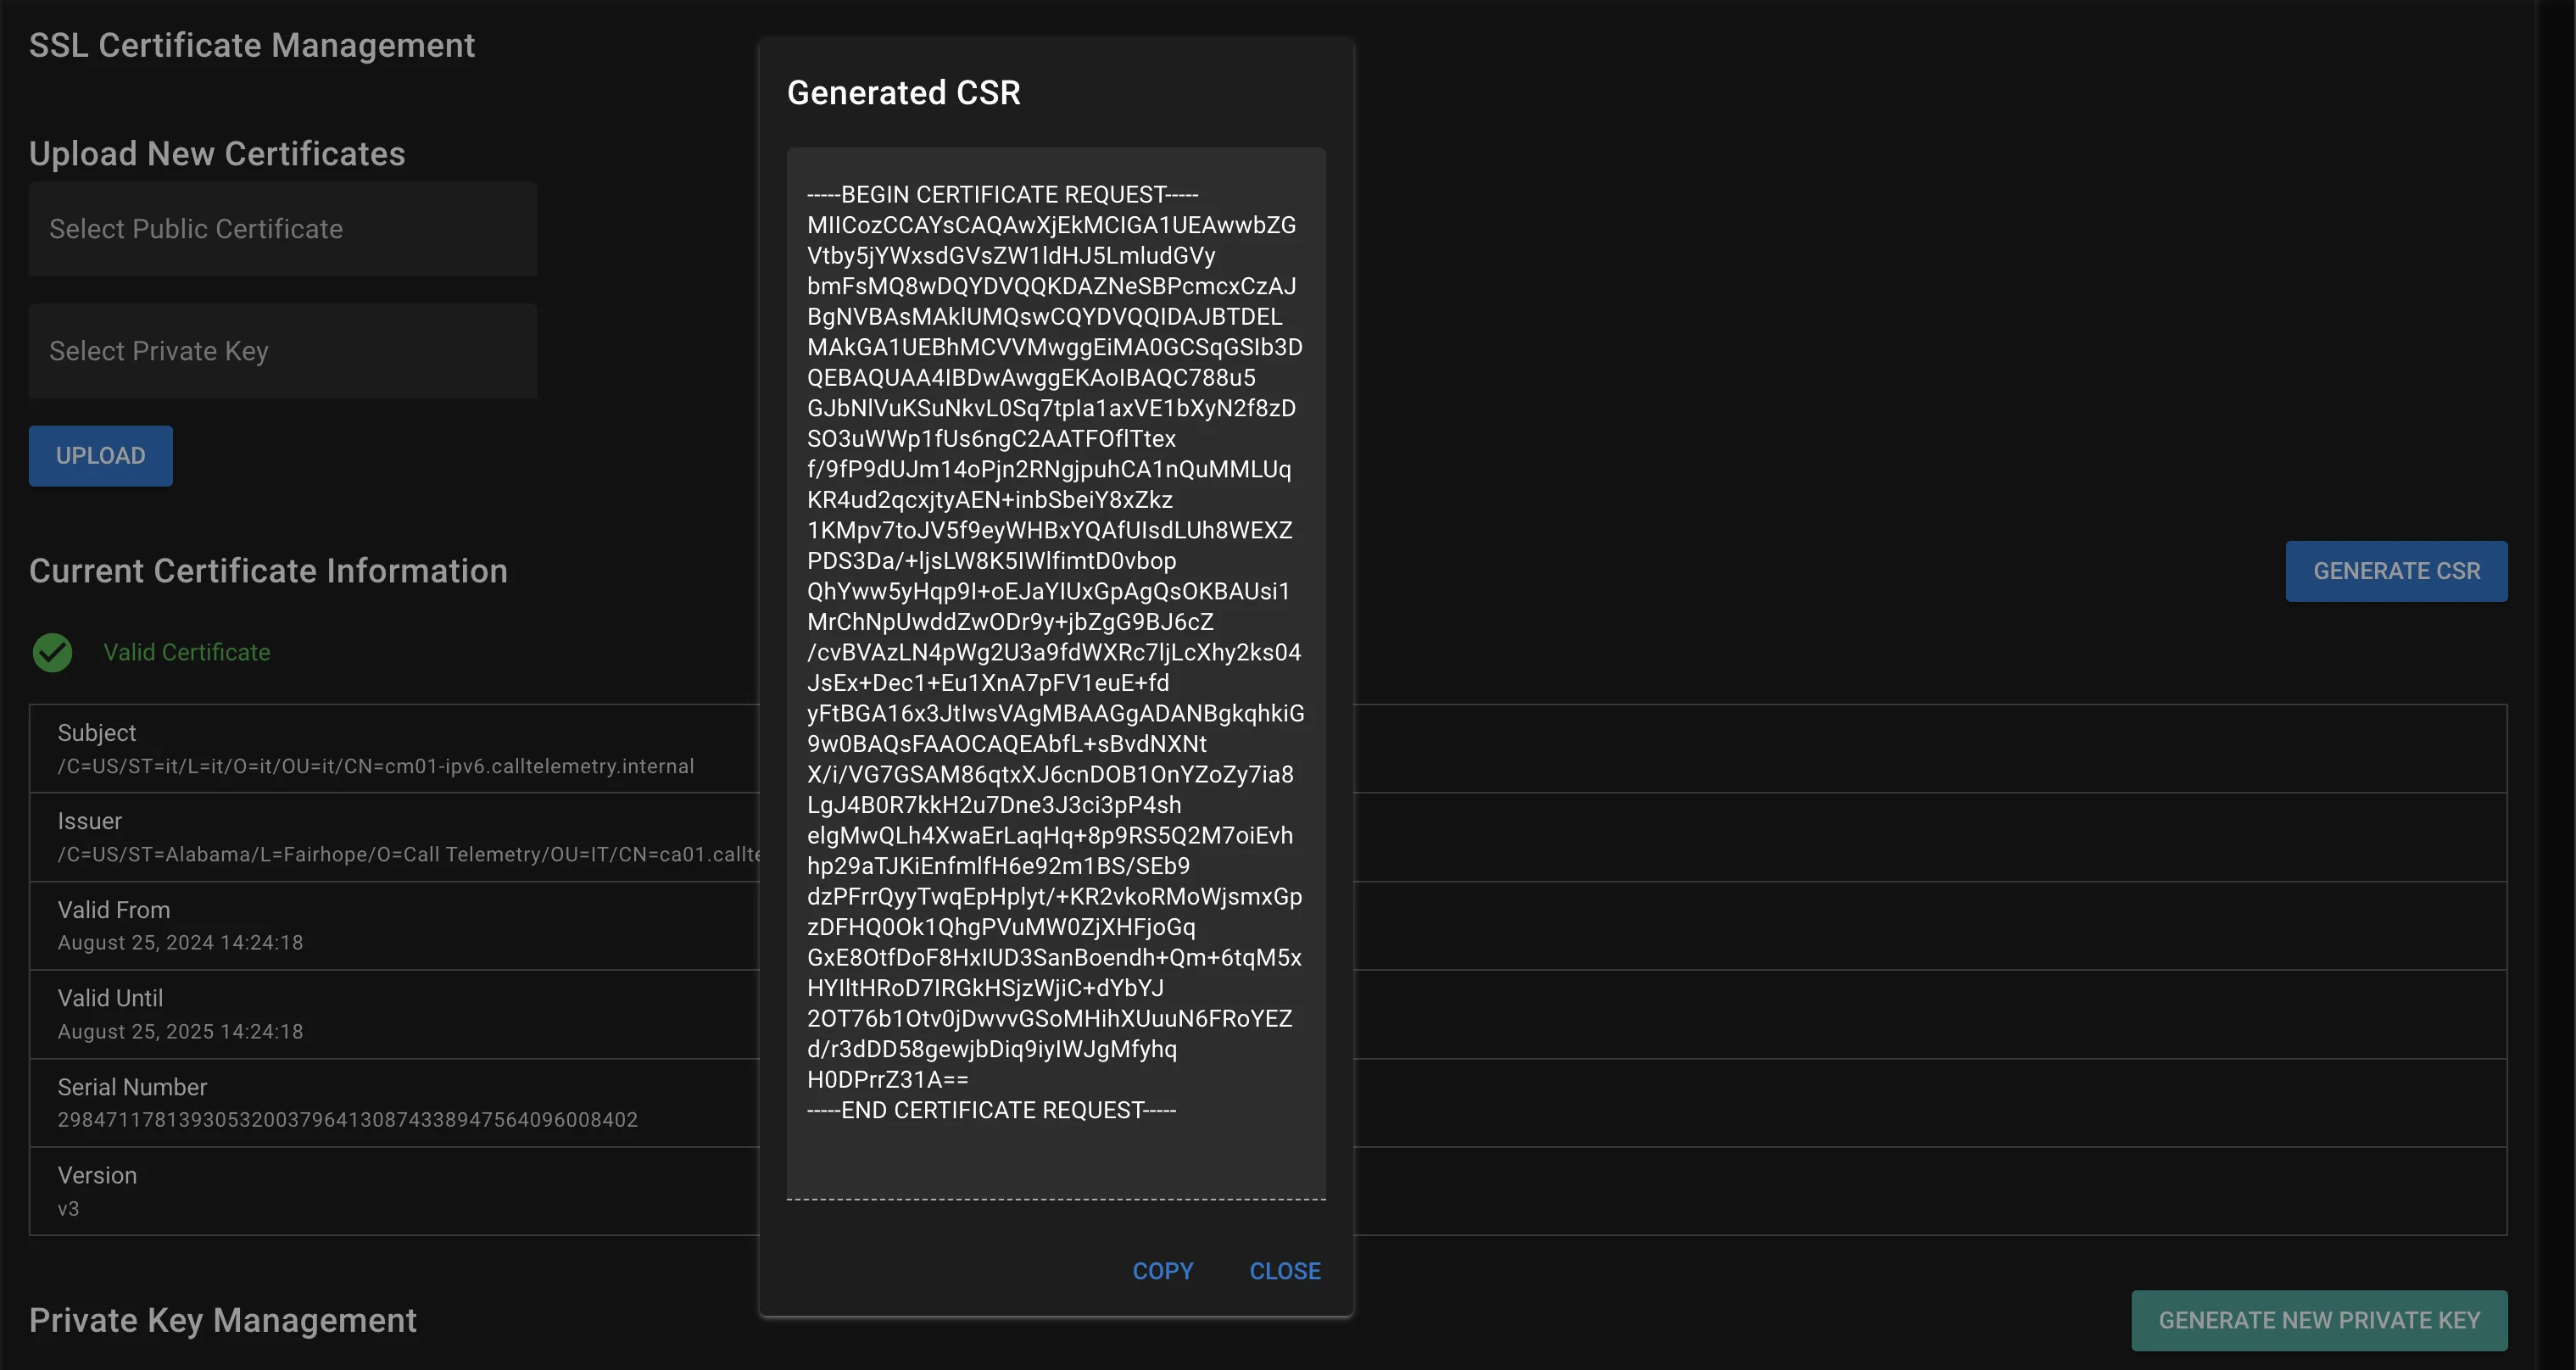
Viewing the CSR
The CSR will be displayed in the text box. You can copy and paste however you need to obtain your certificate.
Updating SSL Certificates on the Appliance
From Settings, click SSL Certificates.
Select your certificate (in PEM format) and key (in PEM format) files, and click Upload.
Restart the Caddy service to apply the changes
cd /home/calltelemetry && sudo docker compose down && sudo docker compose up -d
Older hosts may still use the docker-compose binary instead of docker compose. If the command above is not found, use sudo docker-compose down and sudo docker-compose up -d.
Reset self-signed certificates
Use this when the appliance is still on the default self-signed cert, the cert is expired or untrusted in a way you want to wipe, or you need a clean self-signed pair before installing a production CA certificate.
Preferred (modern CLI)
SSH to the appliance management port 2222, then:
# SSH management port 2222
sudo ct certs status
sudo ct certs reset
cd /home/calltelemetry && sudo docker compose down && sudo docker compose up -d
Older hosts may use docker-compose instead of docker compose.
Legacy one-liner (still valid)
sudo curl -fsSL https://get.calltelemetry.com | sudo sh -s -- reset_certs
This downloads/refreshes the Call Telemetry CLI (ct) if needed, then runs the certificate reset. Prefer sudo ct certs reset when ct is already installed on the host.
After reset
- Browsers will warn again until the new self-signed certificate is trusted (or replaced with a CA-signed cert).
- For production, re-upload your CA-signed certificate and key after reset (or install them under
/home/calltelemetry/certs/). - Resetting appliance portal SSL does not change CUCM/CURRI client trust. See ECC TLS / CURRI client certificates.
- Full CLI reference: Reset Certificates.
CLI Alternative
Prefer the modern ct certificate commands over manual OpenSSL and SCP when possible.
SSH to the appliance on port 2222, then:
# Inspect current appliance certs
sudo ct certs status

# Regenerate default self-signed certs
sudo ct certs reset

# Generate a new key/CSR pair (when available on your CLI version)
sudo ct certs generate
Certificates live under /home/calltelemetry/certs/:
| File | Purpose |
|---|---|
appliance.crt | Public certificate (PEM) |
appliance_key.pem | Private key (PEM, no passphrase) |
You can also place CA-signed PEM files at those paths manually (SCP/SFTP), then restart compose so Caddy reloads them.
Certificate file placement
With everything configured correctly your file structure should look like this:
/home/calltelemetry/
├── docker-compose.yml
├── Caddyfile
├── certs/
│   ├── appliance.crt
│   └── appliance_key.pem
The appliance reads /home/calltelemetry/certs/appliance.crt and /home/calltelemetry/certs/appliance_key.pem. Do not place cert files directly under /home/calltelemetry/ without the certs/ directory.
Manual OpenSSL (optional)
For demonstration purposes, generate a self-signed certificate for the domain demo.calltelemetry.internal. In production, use a certificate from a trusted Certificate Authority (CA).
Open your terminal and run the following commands in the same directory as your docker-compose.yml file:
mkdir -p certs
openssl genrsa -out certs/appliance_key.pem 2048
openssl req -new -key certs/appliance_key.pem -out certs/appliance.csr -subj "/CN=demo.calltelemetry.internal"
openssl x509 -req -days 365 -in certs/appliance.csr -signkey certs/appliance_key.pem -out certs/appliance.crt
Restart the Caddy service to apply the changes
cd /home/calltelemetry && sudo docker compose down && sudo docker compose up -d
Older hosts may still use docker-compose instead of docker compose.
Verify the Certificate
Use a web browser to validate your certificate. Open a web browser and navigate to https://demo.calltelemetry.internal. Because this is self-signed with no CA, you would not get a green lock icon, but if you are working with a production certificate, you should see a green lock icon.
If your certificate key has a passphrase, remove it before applying it here. You can regenerate it without a passphrase like this.
openssl rsa -in certs/appliance_key.pem -out certs/appliance_key.pem