Local Contact Database
Overview
The local contact database is the simplest way to get caller names on your Cisco IP phones. Add your contacts through the Call Telemetry web UI, and the next time one of those numbers calls in, your agents see the name instead of a raw phone number. No external directory or API integration required.
Local contacts take priority over external providers like LDAP and webhooks during resolution, making them ideal for customer records that live outside your corporate directory. Common use cases include importing customer lists from Salesforce or HubSpot exports, loading patient directories for healthcare reception desks, maintaining student and parent contact records for university help desks, or populating tenant and property manager contacts for facilities teams. Any CRM data that you can export as a name and phone number can become instant caller ID on your Cisco phones.
Requirements
- Call Telemetry Appliance 0.8.6 or later
- Call Telemetry Premium License
- Cisco CallManager with CURRI API Integration
- Configured External Call Control Profile Inspection - A route pattern, translation pattern, or phone extension must be enabled for Call Telemetry policy inspection
Adding Contacts
- Navigate to Policies → Local Contacts
- Click Create Contact
- Fill in the contact details:
| Field | Required | Description |
|---|---|---|
| Phone Number | Yes | The number to match against incoming calls. E.164 format recommended (e.g., +12345678901), but any common format is accepted. |
| Contact Name | Yes | Displayed on Cisco phones when this number calls. |
| Company | No | Company or organization name. |
| Department | No | Department within the organization. |
| Title | No | Job title or role. |
| No | Email address for this contact. |
- Click Save
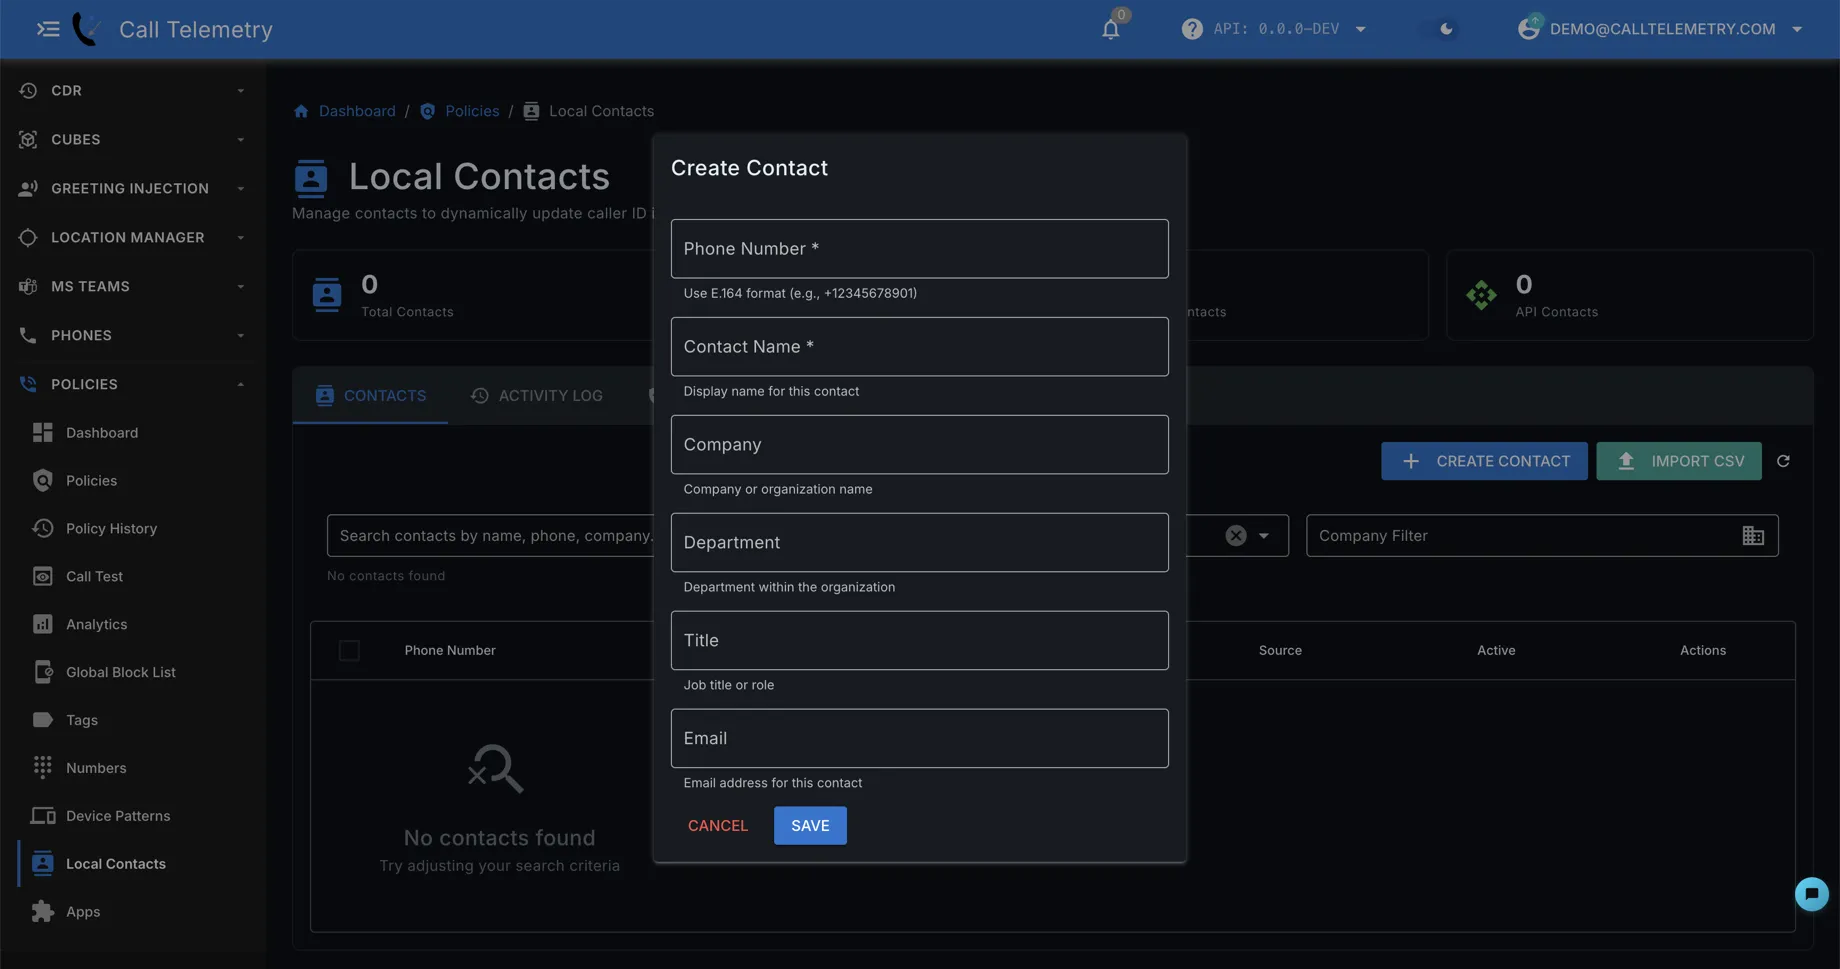
The contact is immediately available for caller ID resolution on the next inbound call.
Phone Number Normalization
Call Telemetry normalizes all phone numbers before storage and lookup. You do not need to worry about formatting — the system handles it automatically.
Formatting characters such as dashes, spaces, and parentheses are stripped. For North American numbers (11 digits starting with 1), the leading country code is removed to produce a 10-digit number. International numbers with other country codes (e.g., +44, +49, +61) are preserved intact — only the + symbol is stripped, keeping the full country code and subscriber number.
North American example — all of these match the same contact:
(408) 555-1234
408-555-1234
+14085551234
4085551234
International example — a UK number normalizes to 442071234567, preserving the 44 country code:
+44 20 7123 4567
442071234567
Short numbers like internal extensions and DIDs (under 7 digits) are preserved as-is.
Managing Contacts
Editing a Contact
- Navigate to Policies → Local Contacts
- Find the contact using the search bar (searches across name, phone number, and company)
- Click the contact to open it
- Update the fields you want to change
- Click Save
Changes take effect immediately for the next incoming call from that number.
Deleting a Contact
- Navigate to Policies → Local Contacts
- Find the contact
- Click the delete icon
- Confirm the deletion
Bulk Import
For large contact databases — phone directories, CRM exports, or vendor contact lists — use the CSV import feature to load thousands of contacts in a single upload. The importer auto-detects common column headers and handles number normalization automatically.
See CSV Contact Import for file format, column mapping, and validation details.
Verifying Contact Resolution
After adding contacts, verify that caller ID resolution works correctly:
- Navigate to Policies → Call Test
- Enter a calling number that matches one of your contacts
- Click Submit Test Call
- Check the Realtime Policy Pipeline Results — the Modifiers section should show Calling Name with your contact's resolved name
- The Realtime Apps Executed section confirms the Local Contact Resolution app ran successfully
The Local Contact Resolution app automatically sets the calling party name when a match is found — you do not need to manually configure a Calling Party Name modifier in your rule. The app handles the caller ID override for you.
The app supports a name template for customizing how the resolved name is displayed. Edit the template in your Local Contact Resolution app settings under Realtime Policies → Apps → select your app → Name Template field. The default template is {{contact.name}}. You can combine fields -- for example, {{contact.name}} - {{contact.company}} shows both name and company on the phone display.
Available contact variables: contact.name, contact.company, contact.department, contact.email, contact.title, contact.phone, contact.phone_extension, contact.location. Call variables: event.calling_number, event.called_number.
Related Topics
- CSV Contact Import -- Bulk upload contacts from spreadsheets
- LDAP Contact Resolution -- Resolve callers from Active Directory
- REST API Contact Resolution -- Connect external CRM systems
- CRM & Contact Resolution Overview -- All data source options